WW2Steel.com
My
Bren Carrier project:
6Sep'04 - 3May'06
(home)
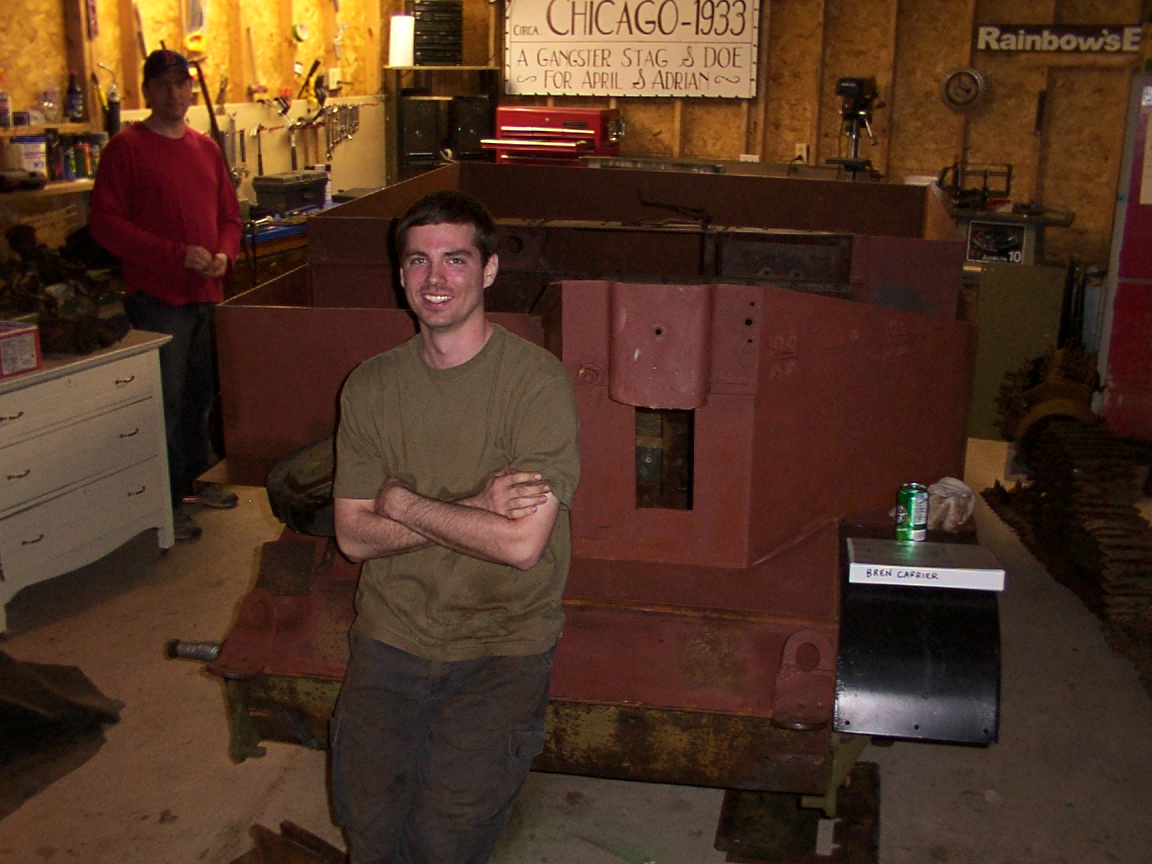
My relationship with this vehicle began of
September 6th, 2004 when a student of mine flew me up to Peterborough,
Canada to check out a vehicle in an EBay ad. All of
the driveline and
powerplant were there, as was almost all of the suspension. I am
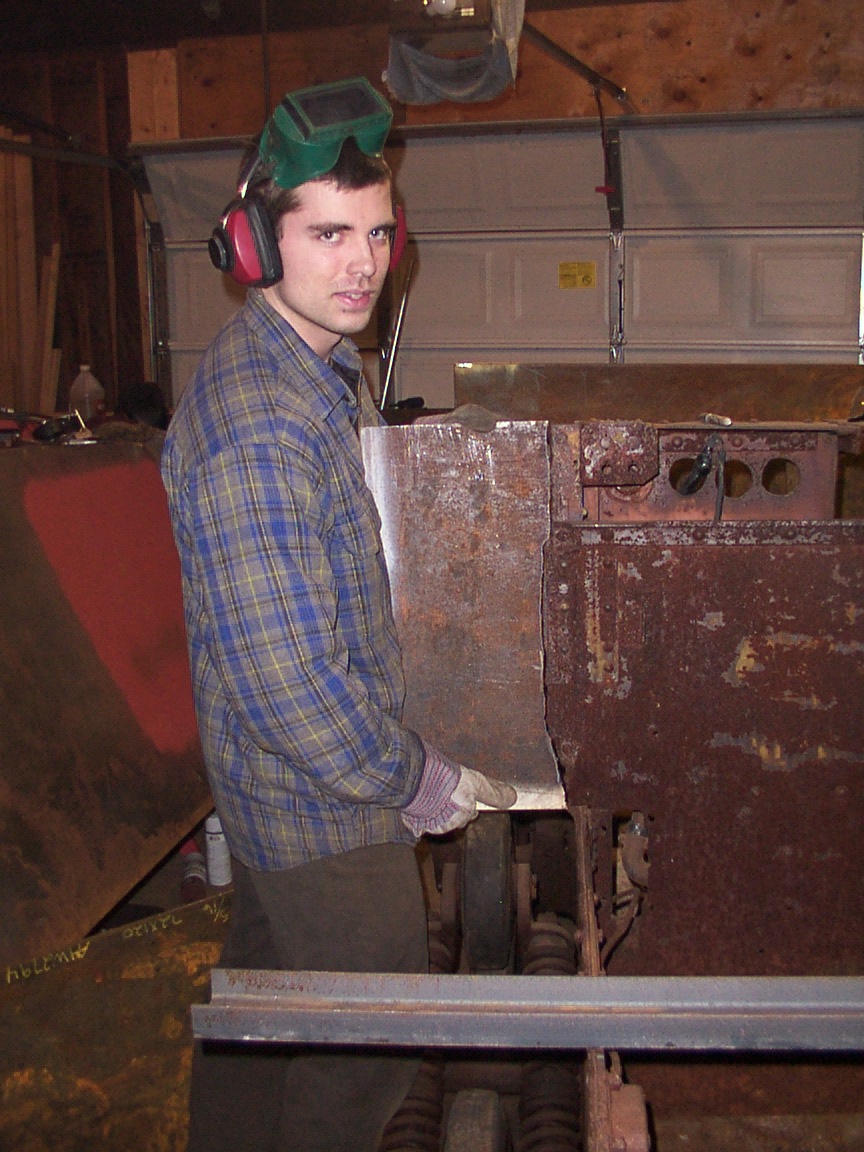
great with metal, so I knew I could build the superstructure relatively
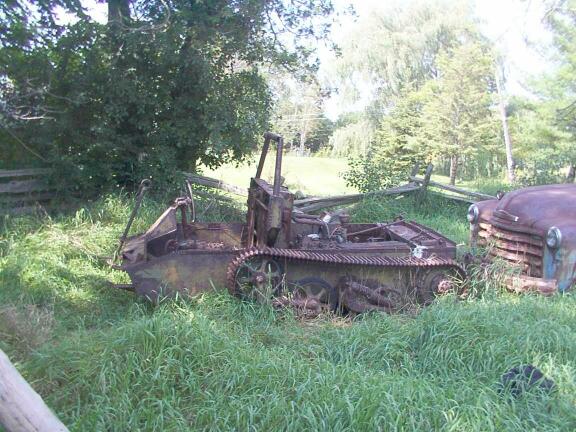
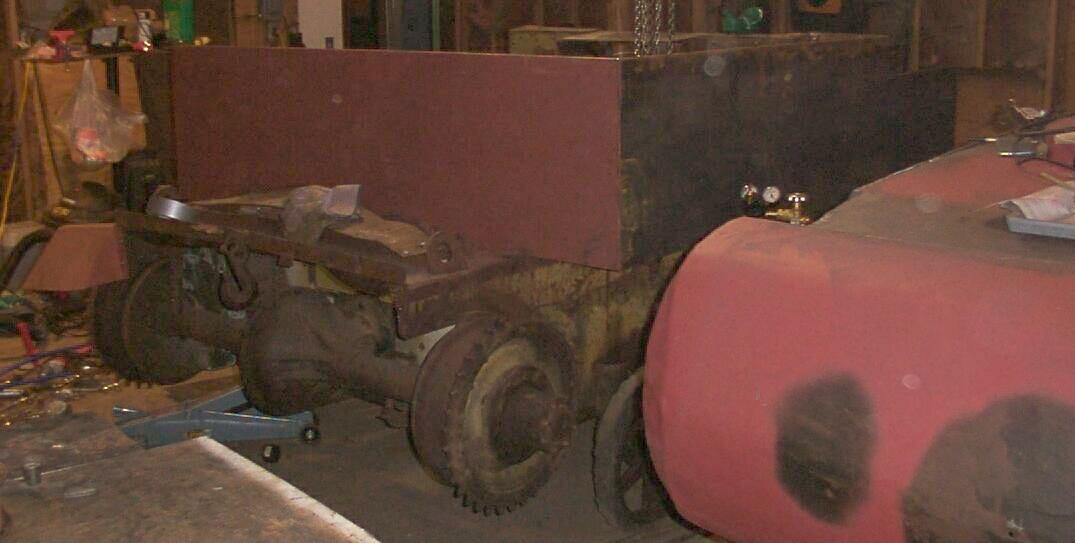
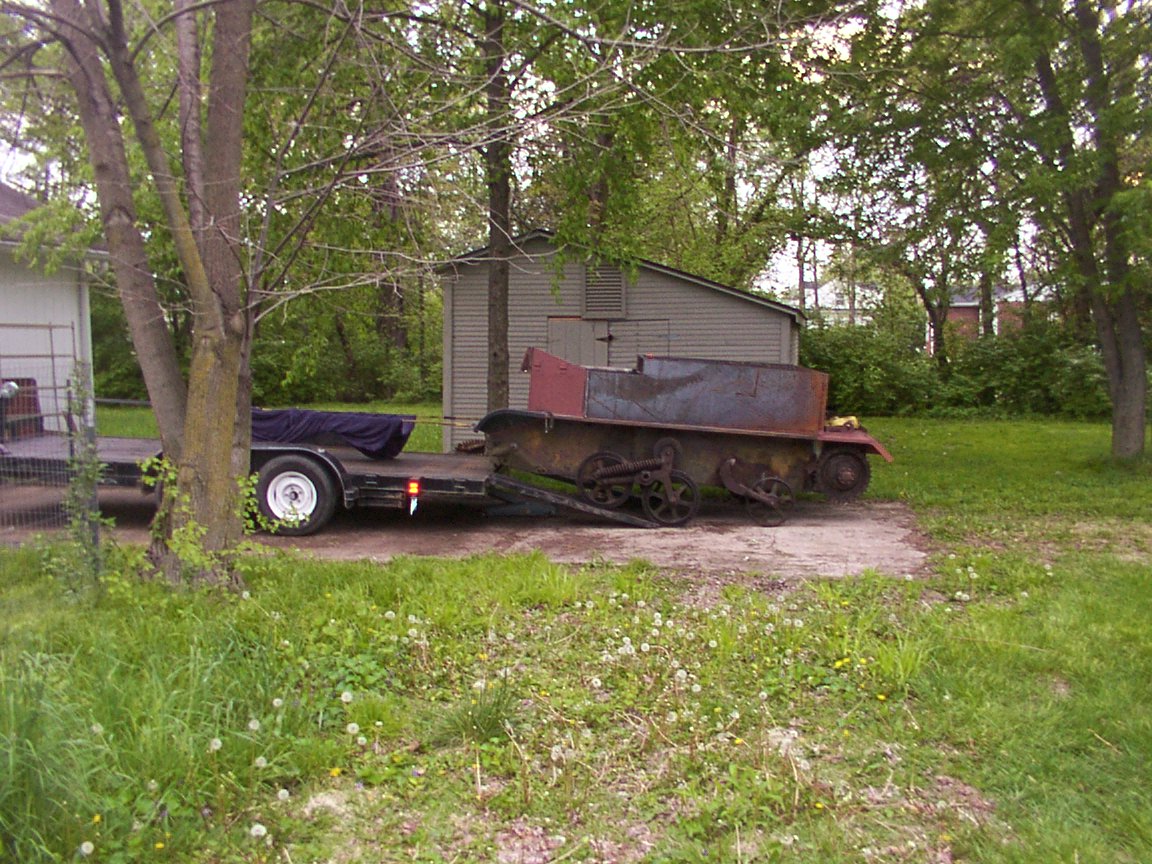
easy. A pic I took while I was there that day:
As you can see, it was in pretty
bad shape, but I got it for $300,
which I think was a good deal.
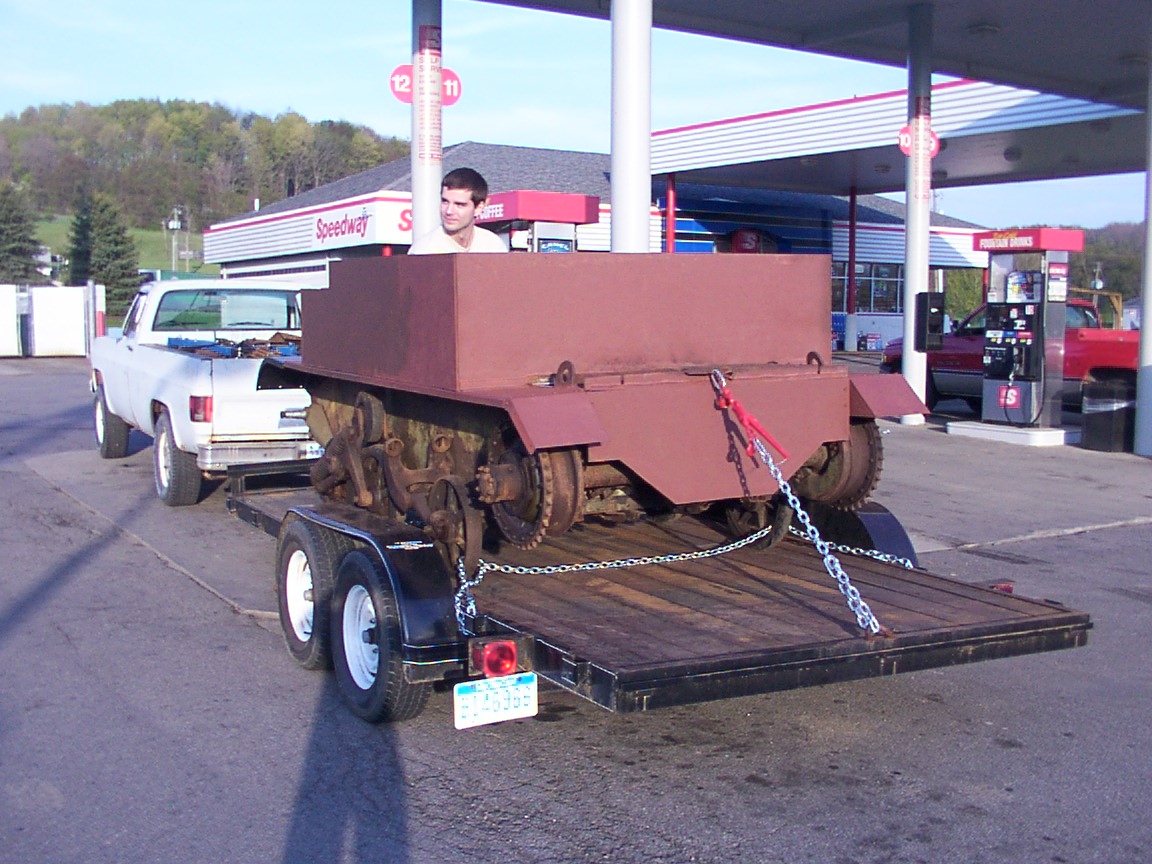
I went and picked it up with my old Chevy K20HD and a new trailer
on September 18th.
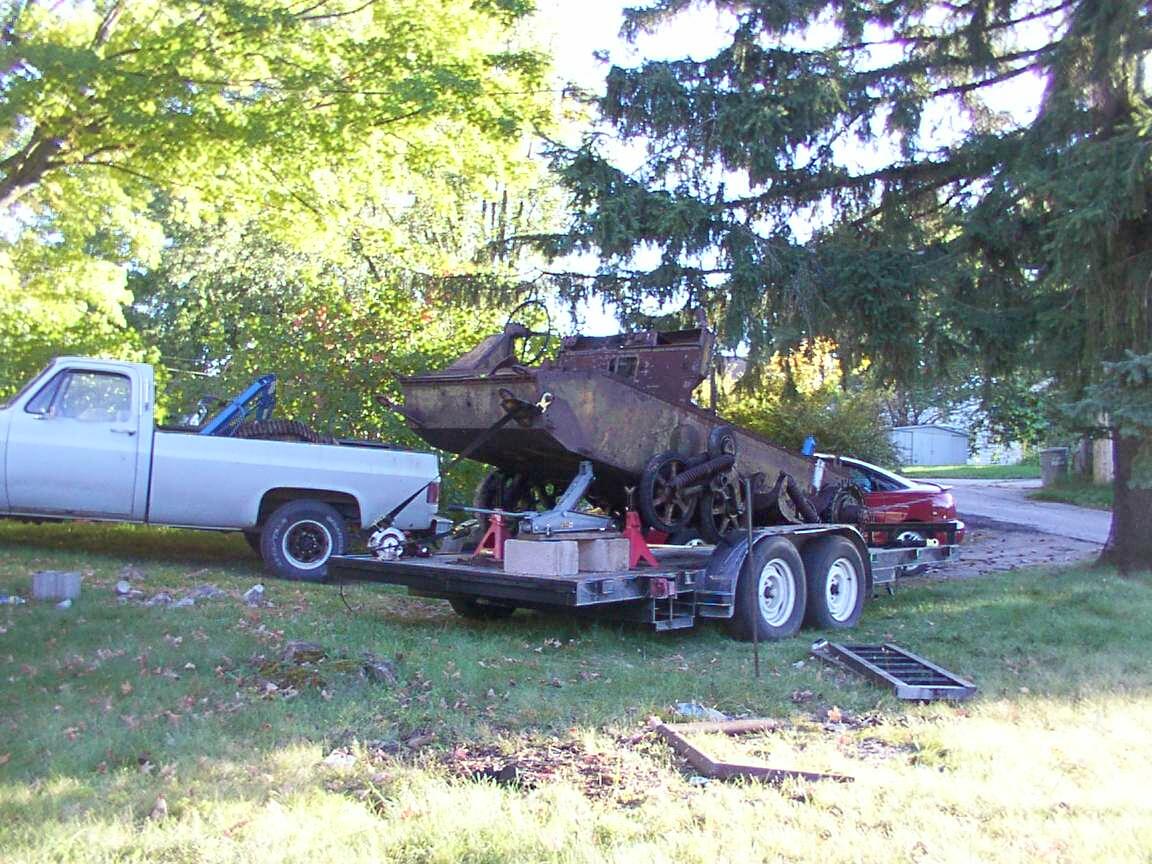
This is about 6 months later, up
in Iron Mountain, Michigan where I lived at the time. As the
garage was too small to work in and I had no heavy tools yet, I made
very little progress until I moved to Indy. Here I was flipping
the suspension back right side up (see previous pic).
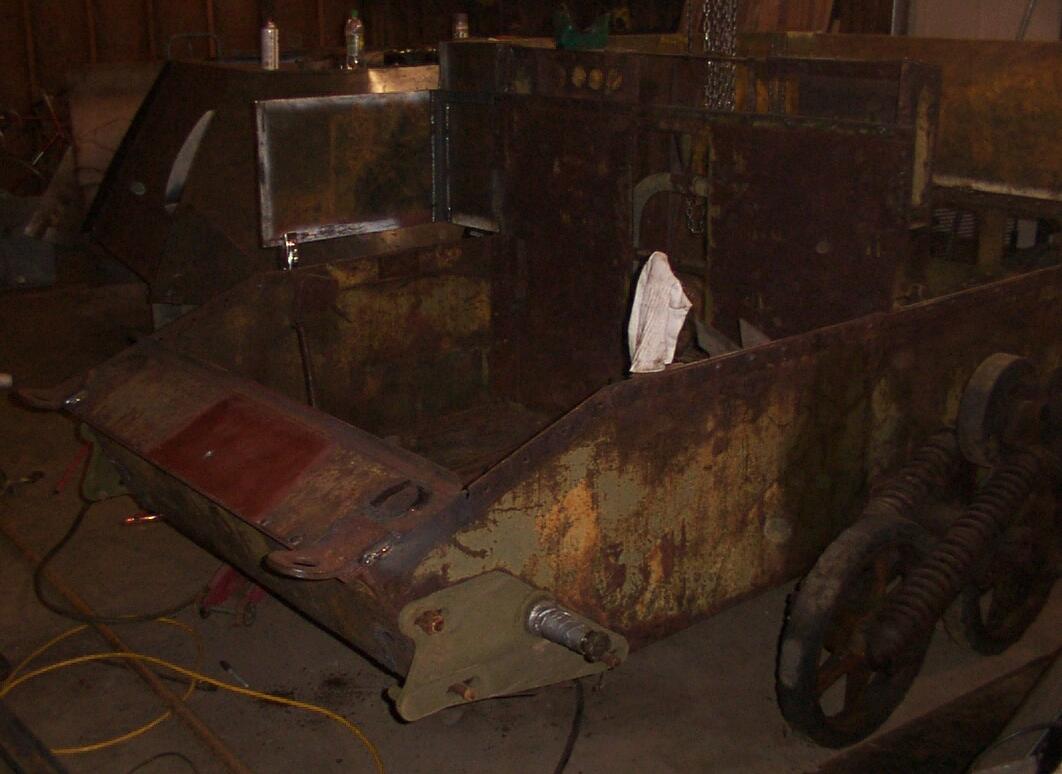
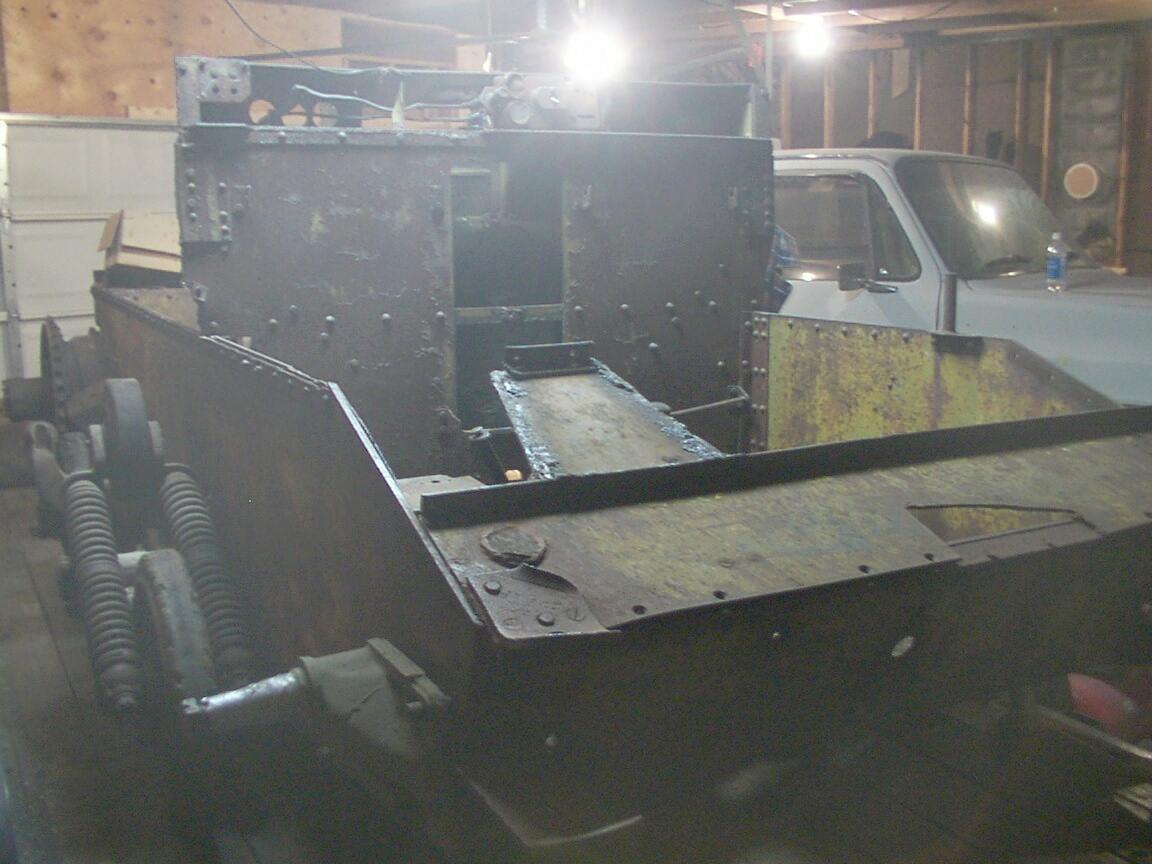 My Bren Carrier- after a small amount of work, here in
Indianapolis. (Feb '05)
My Bren Carrier- after a small amount of work, here in
Indianapolis. (Feb '05)
By this point I had removed most of the civilian modifications such as
big tow bars and brackets, and the huge steering box.
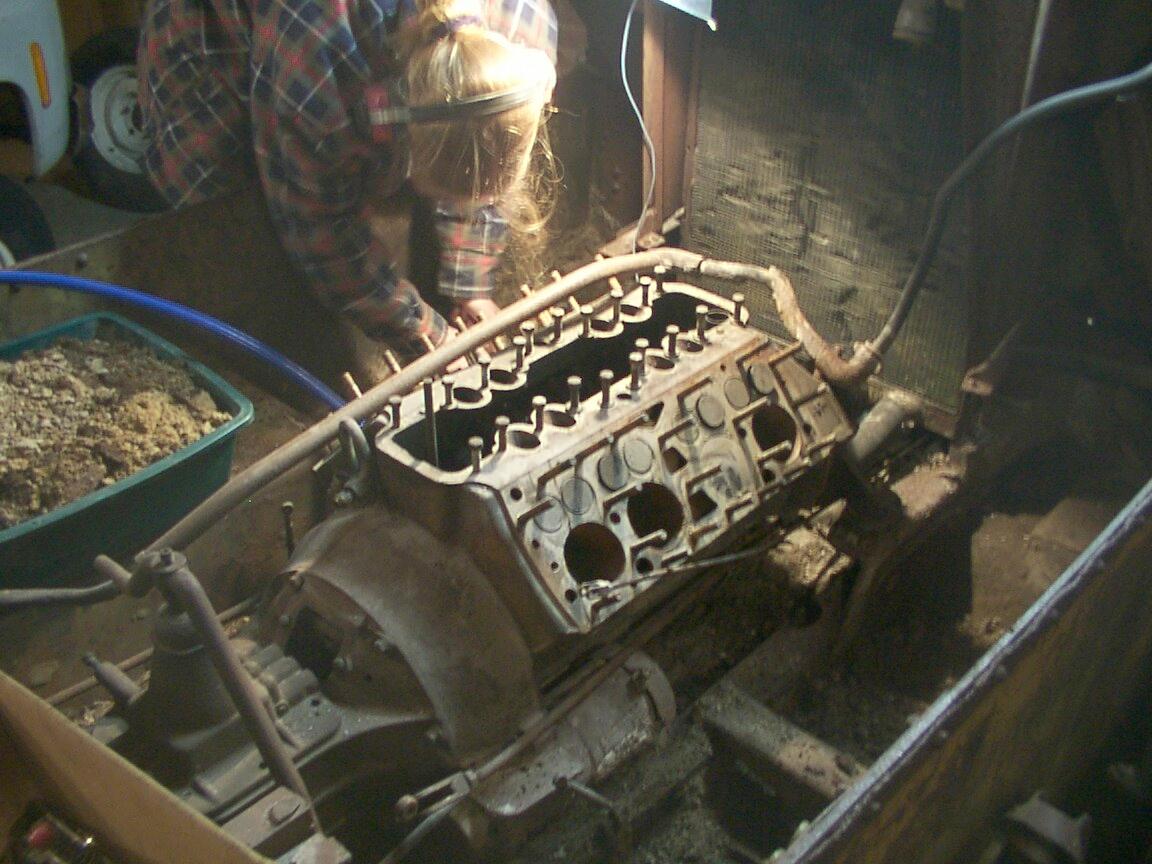
My wife Martina helping me chisel out roughly 100 pounds of concrete in
the bottom.
The engine
is clean, but needs rebuilding (no
compression). The trans and rear end work. Most of the
linkages need to be reworked (clutch, brakes, steering).
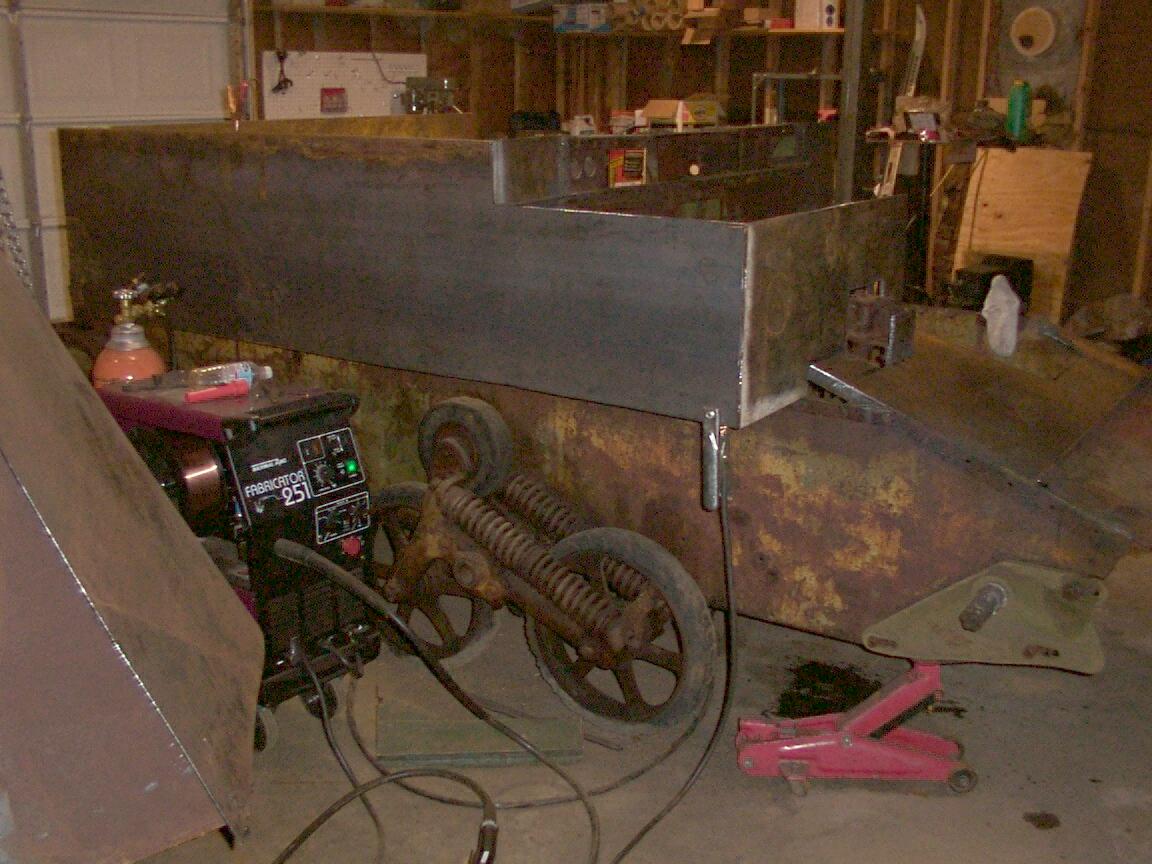
 Fitting the right side of the center bulkhead. (Feb '06)
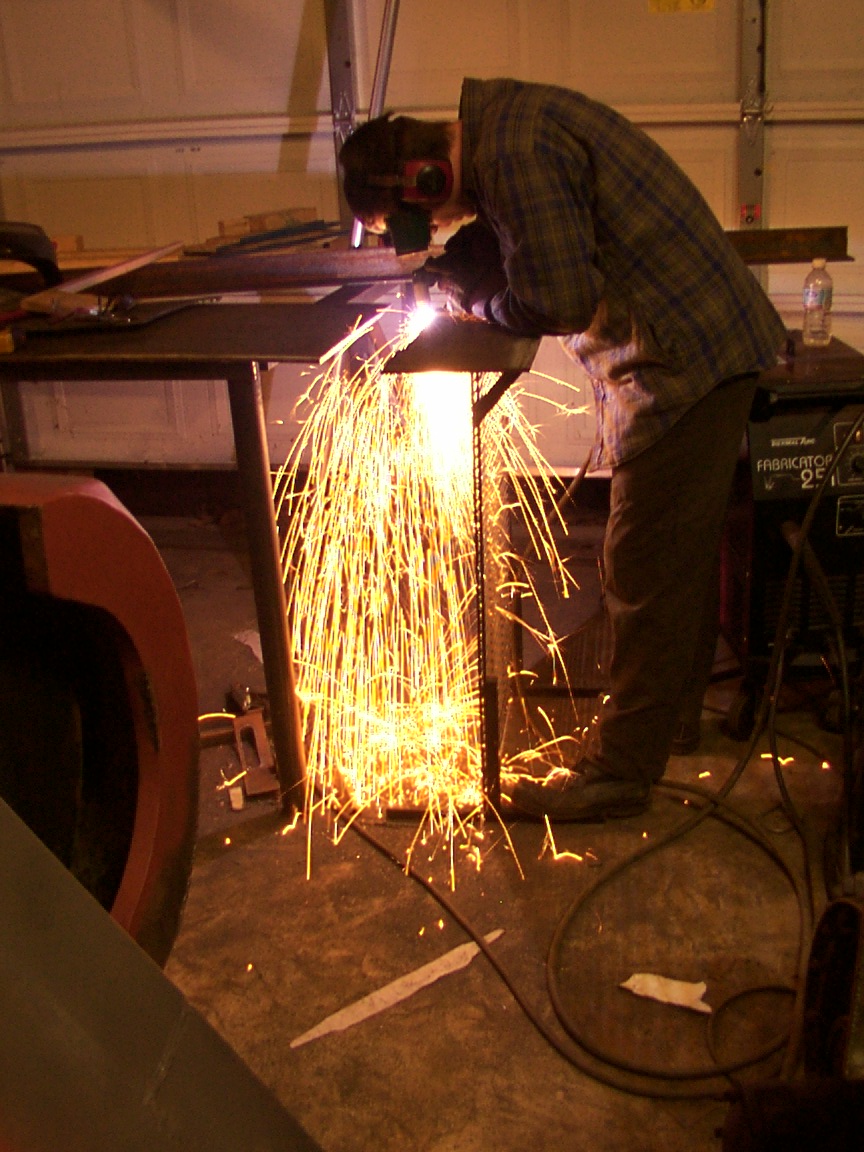
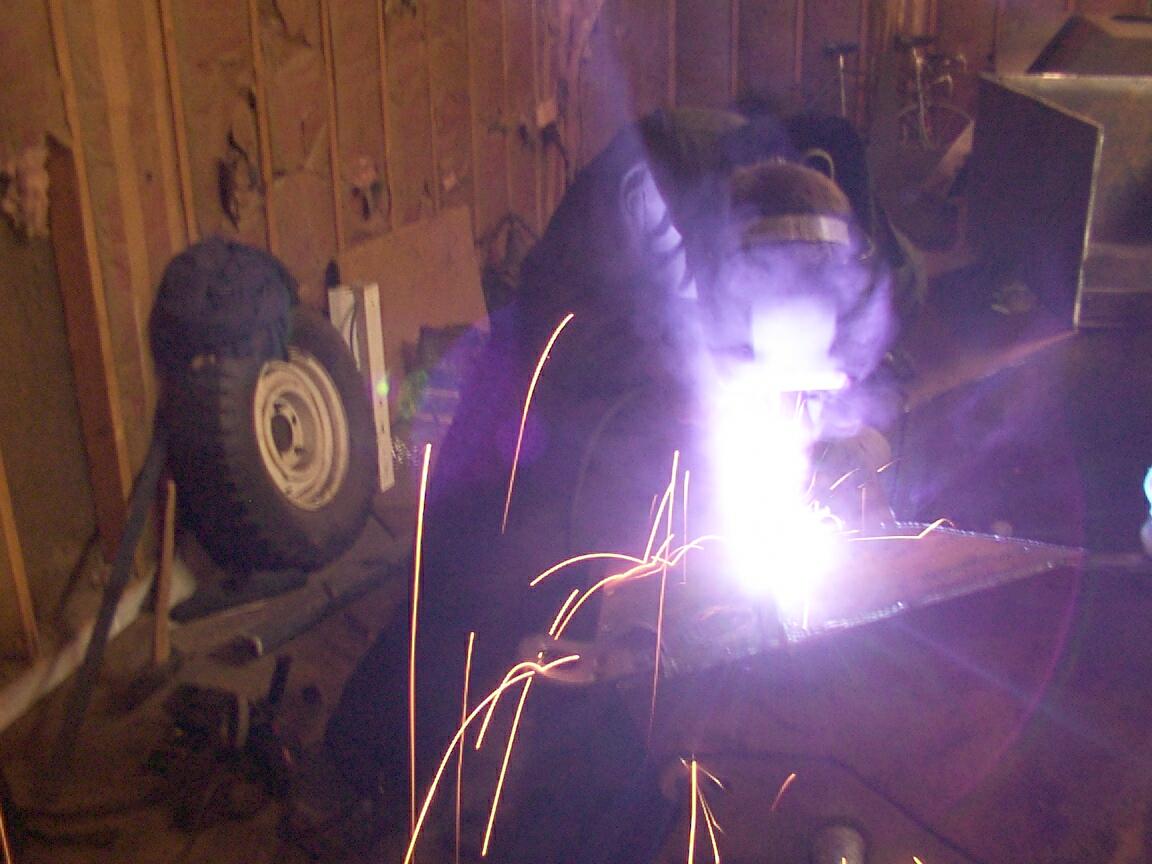
Plasma torch trimming the above panel, you can see the Panther's gun
mantlet in the left side of the pic.
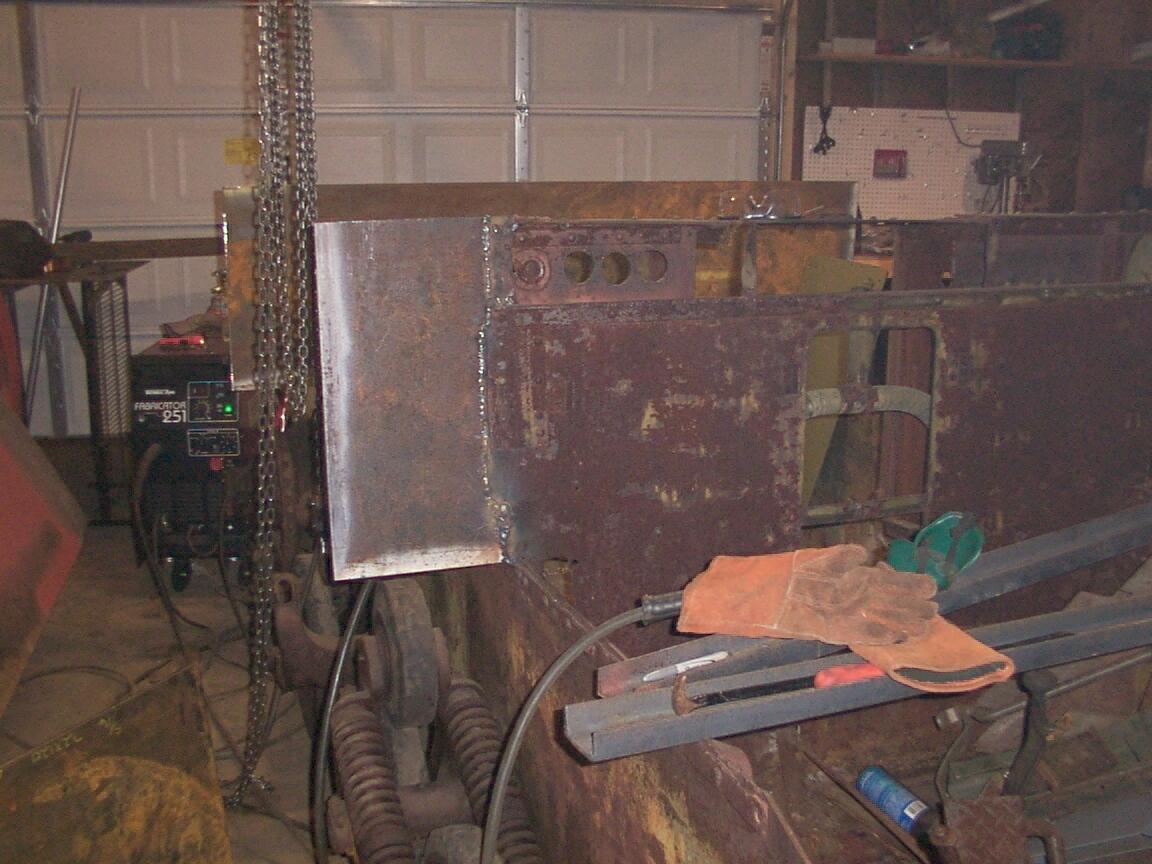
...welded in place...
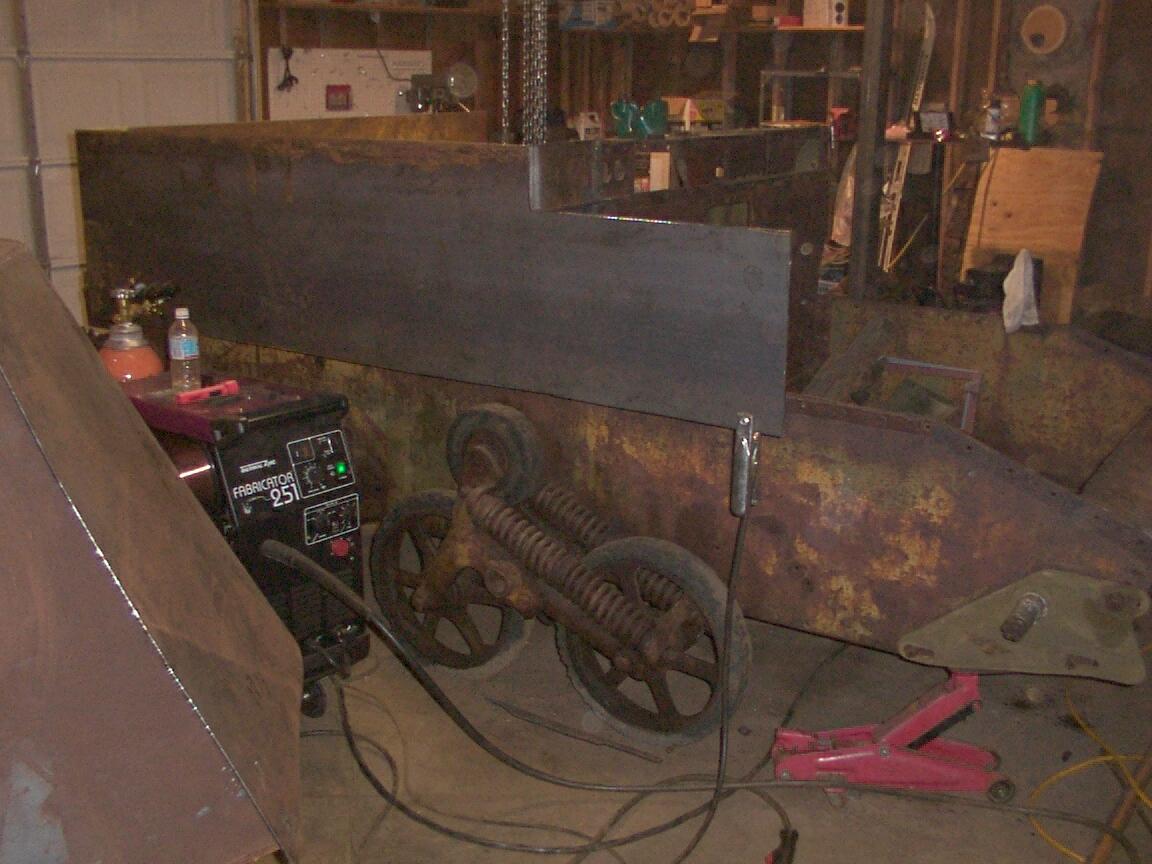
...right side panel in place...
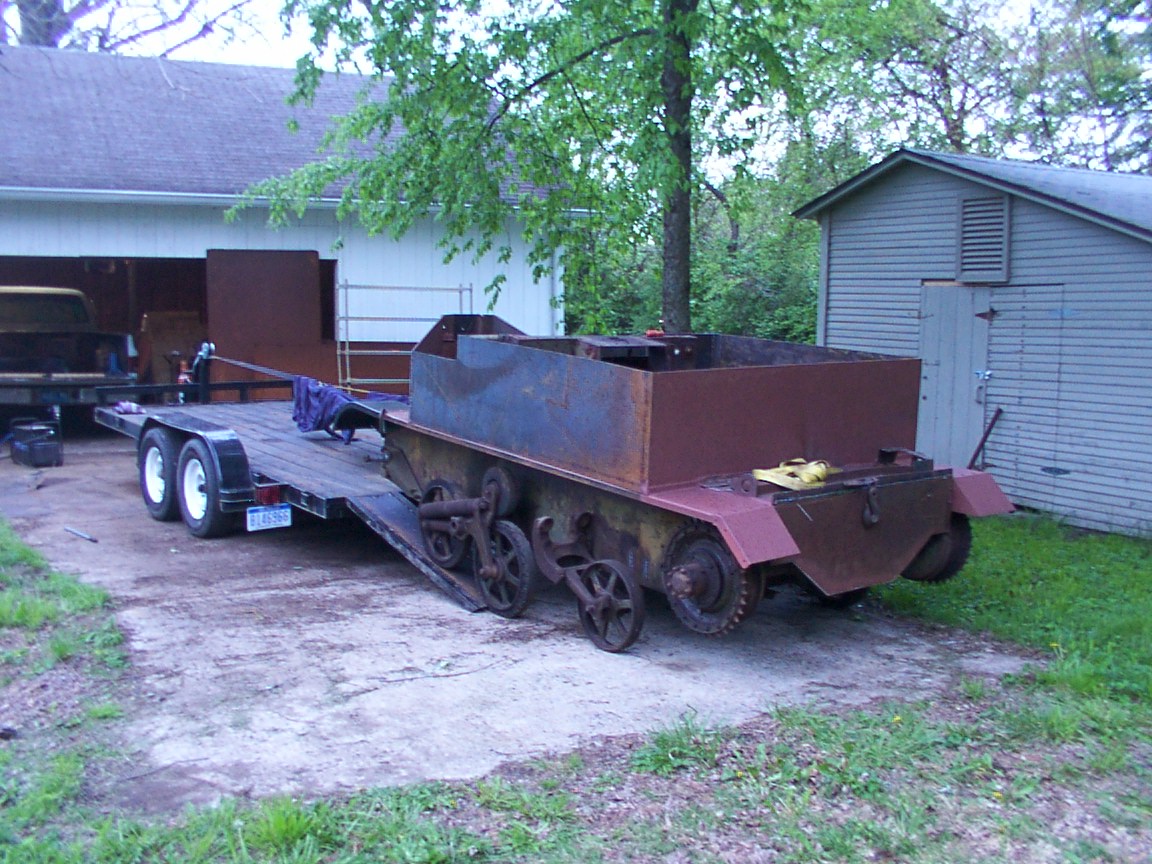
...a rear view...
This is a pic of the lower portion of the glacis plate. I used
one of my ballistic test plates with a high angle bullethole in
it. This part of the panel had been torn off, so I torched out an
exact copy of the missing piece which contains the bullet mark.
Welding the lower seam of the glacis plate.
The glacis plate, driver's plate, and steering box in place.
Straightening
everything up takes time and careful work; the last thing I want when
finished are crooked panels!
(Steel plates normally have a slight bend to them, which I had to try
to minimize.)
Here we take a big jump. I thought I took pictures during this
finishing phase of construction... but I can't find 'em.
As I already had a buyer waiting for the Carrier (and I didn't have a
job!) construction proceeded fairly quickly in March and April.
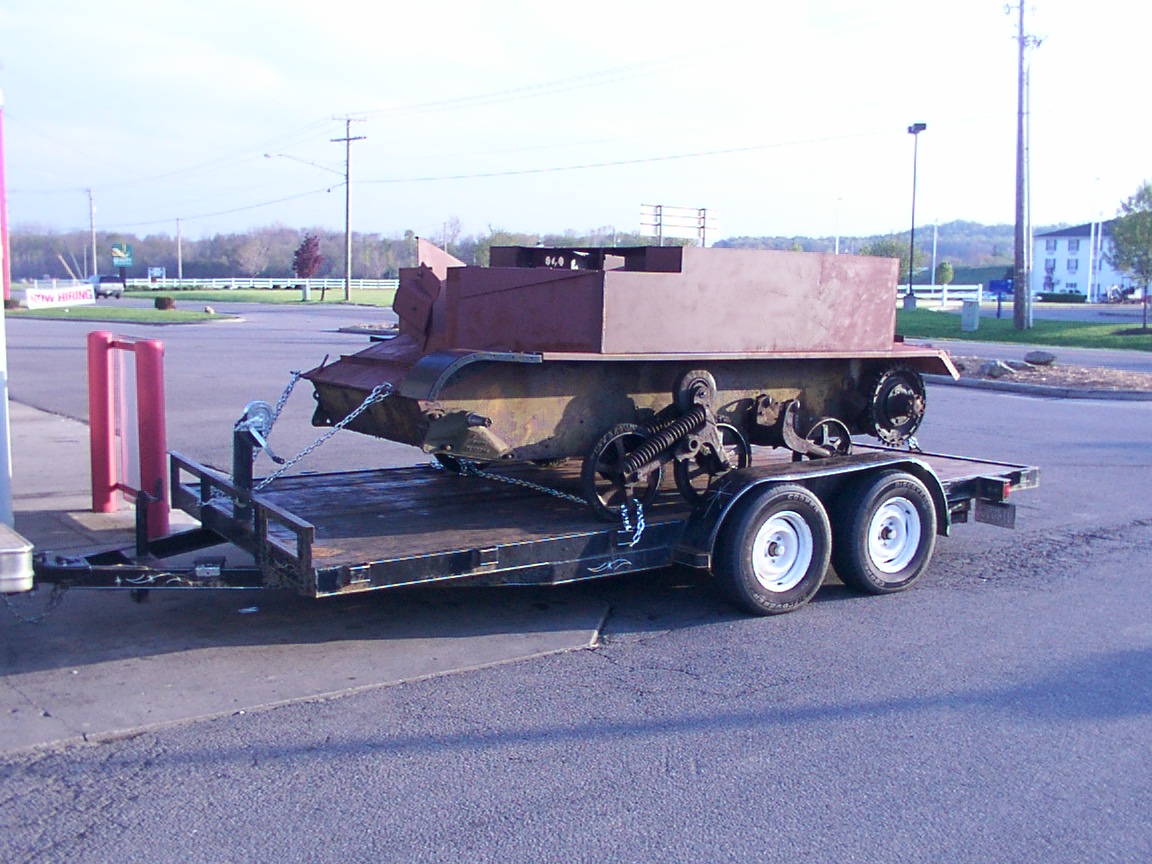
These pics are from the day before our trip to Niagra Falls (where I
was delivering it).
In the mean time I mounted the fenders, finished the front armor and
left side armor, welded in all of the braces, made a really cool bent
sheet metal cover for the steering gear, rebuilt the curved plate for
the gunner and made it so it swivels properly, installed the left
gunners plate with the appropriate hinges, made the rear lower
(differential) plate, repaired the front towing eyes, repaired a small
rusted sarea in the floor, and certaily lots and lots more.
...sure wish I could find those pics.
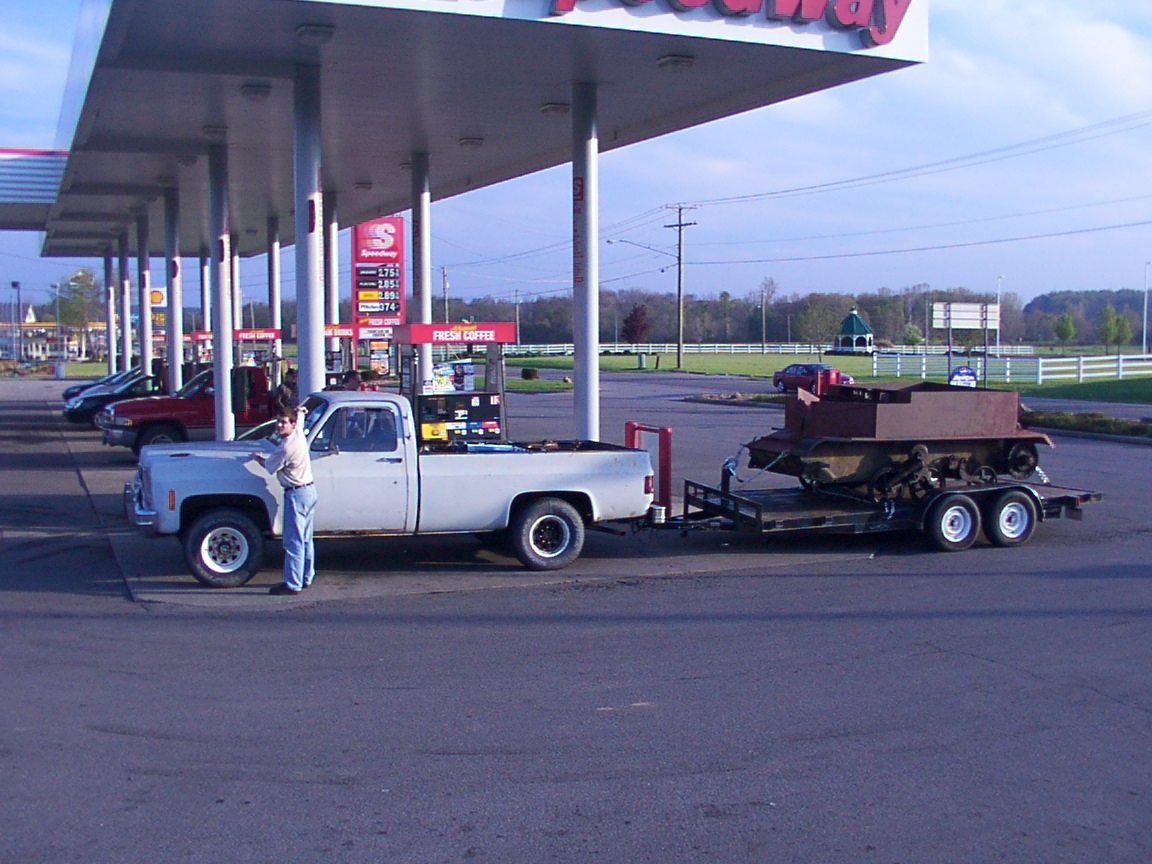
Loading it up:
Ready to to!
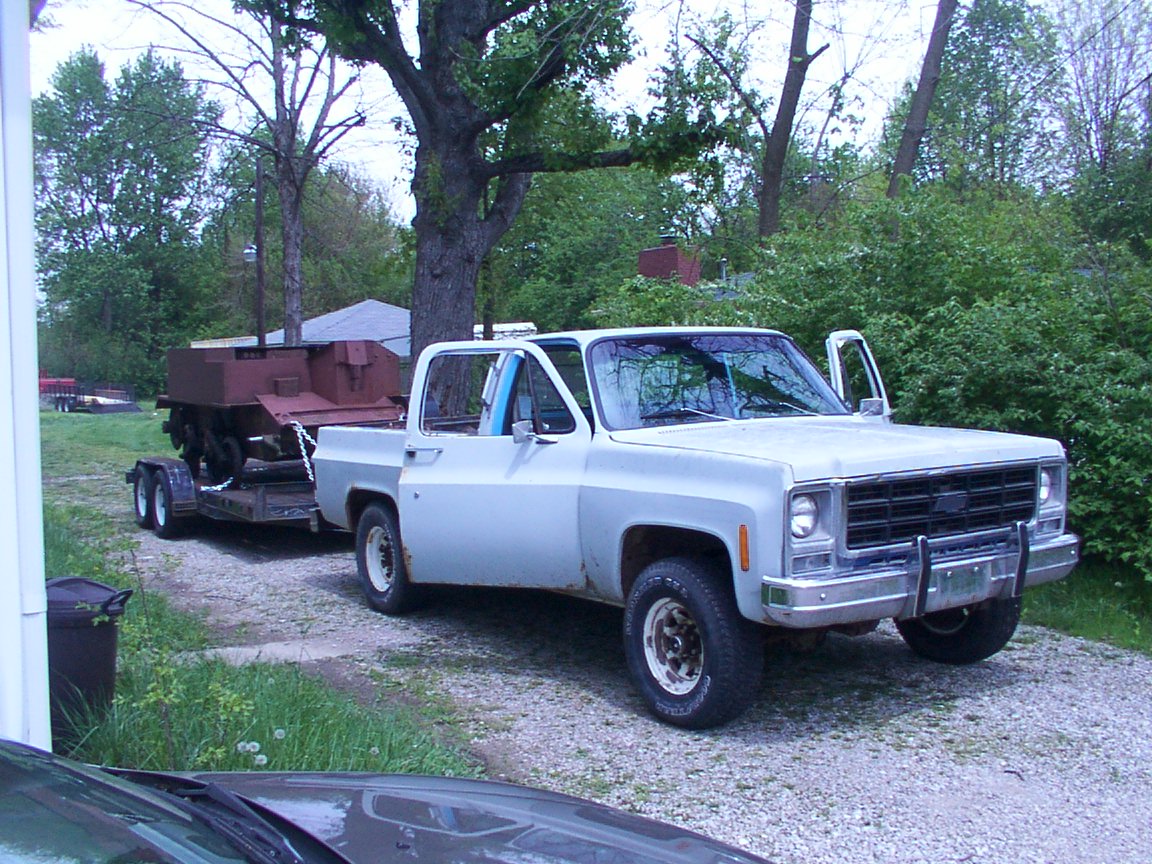
En route!
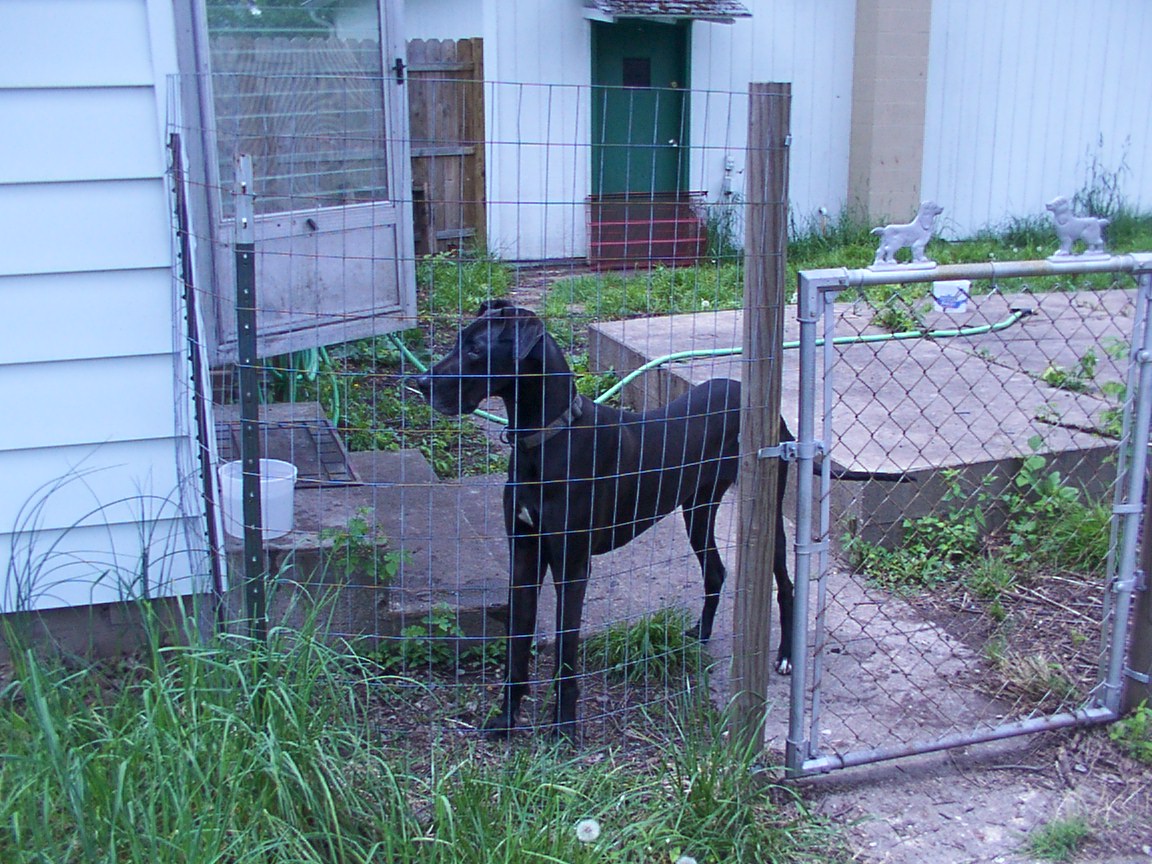
Where ya goin? (Willow, our 'puppy' Great Dane watching as we were getting ready to leave.)
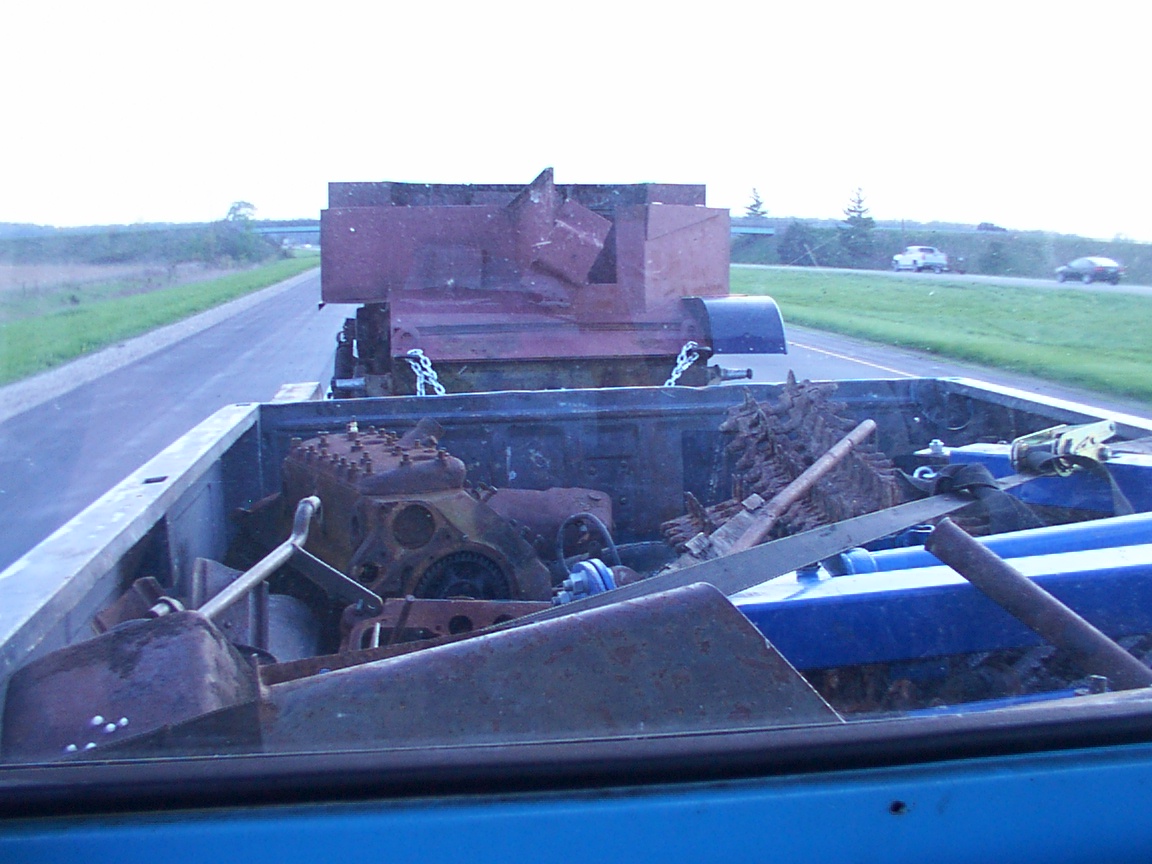 Out of curiosity we weighed it at a truck stop... 14,400lbs
total! The truck did great, but it accelerated and stoped more
like a train!
Out of curiosity we weighed it at a truck stop... 14,400lbs
total! The truck did great, but it accelerated and stoped more
like a train!
Stopping was acceptable because of the really good trailer brakes.
We could go up to 70mph, but I kept it around 55, as I don't want to
see any connecting rods any time soon!